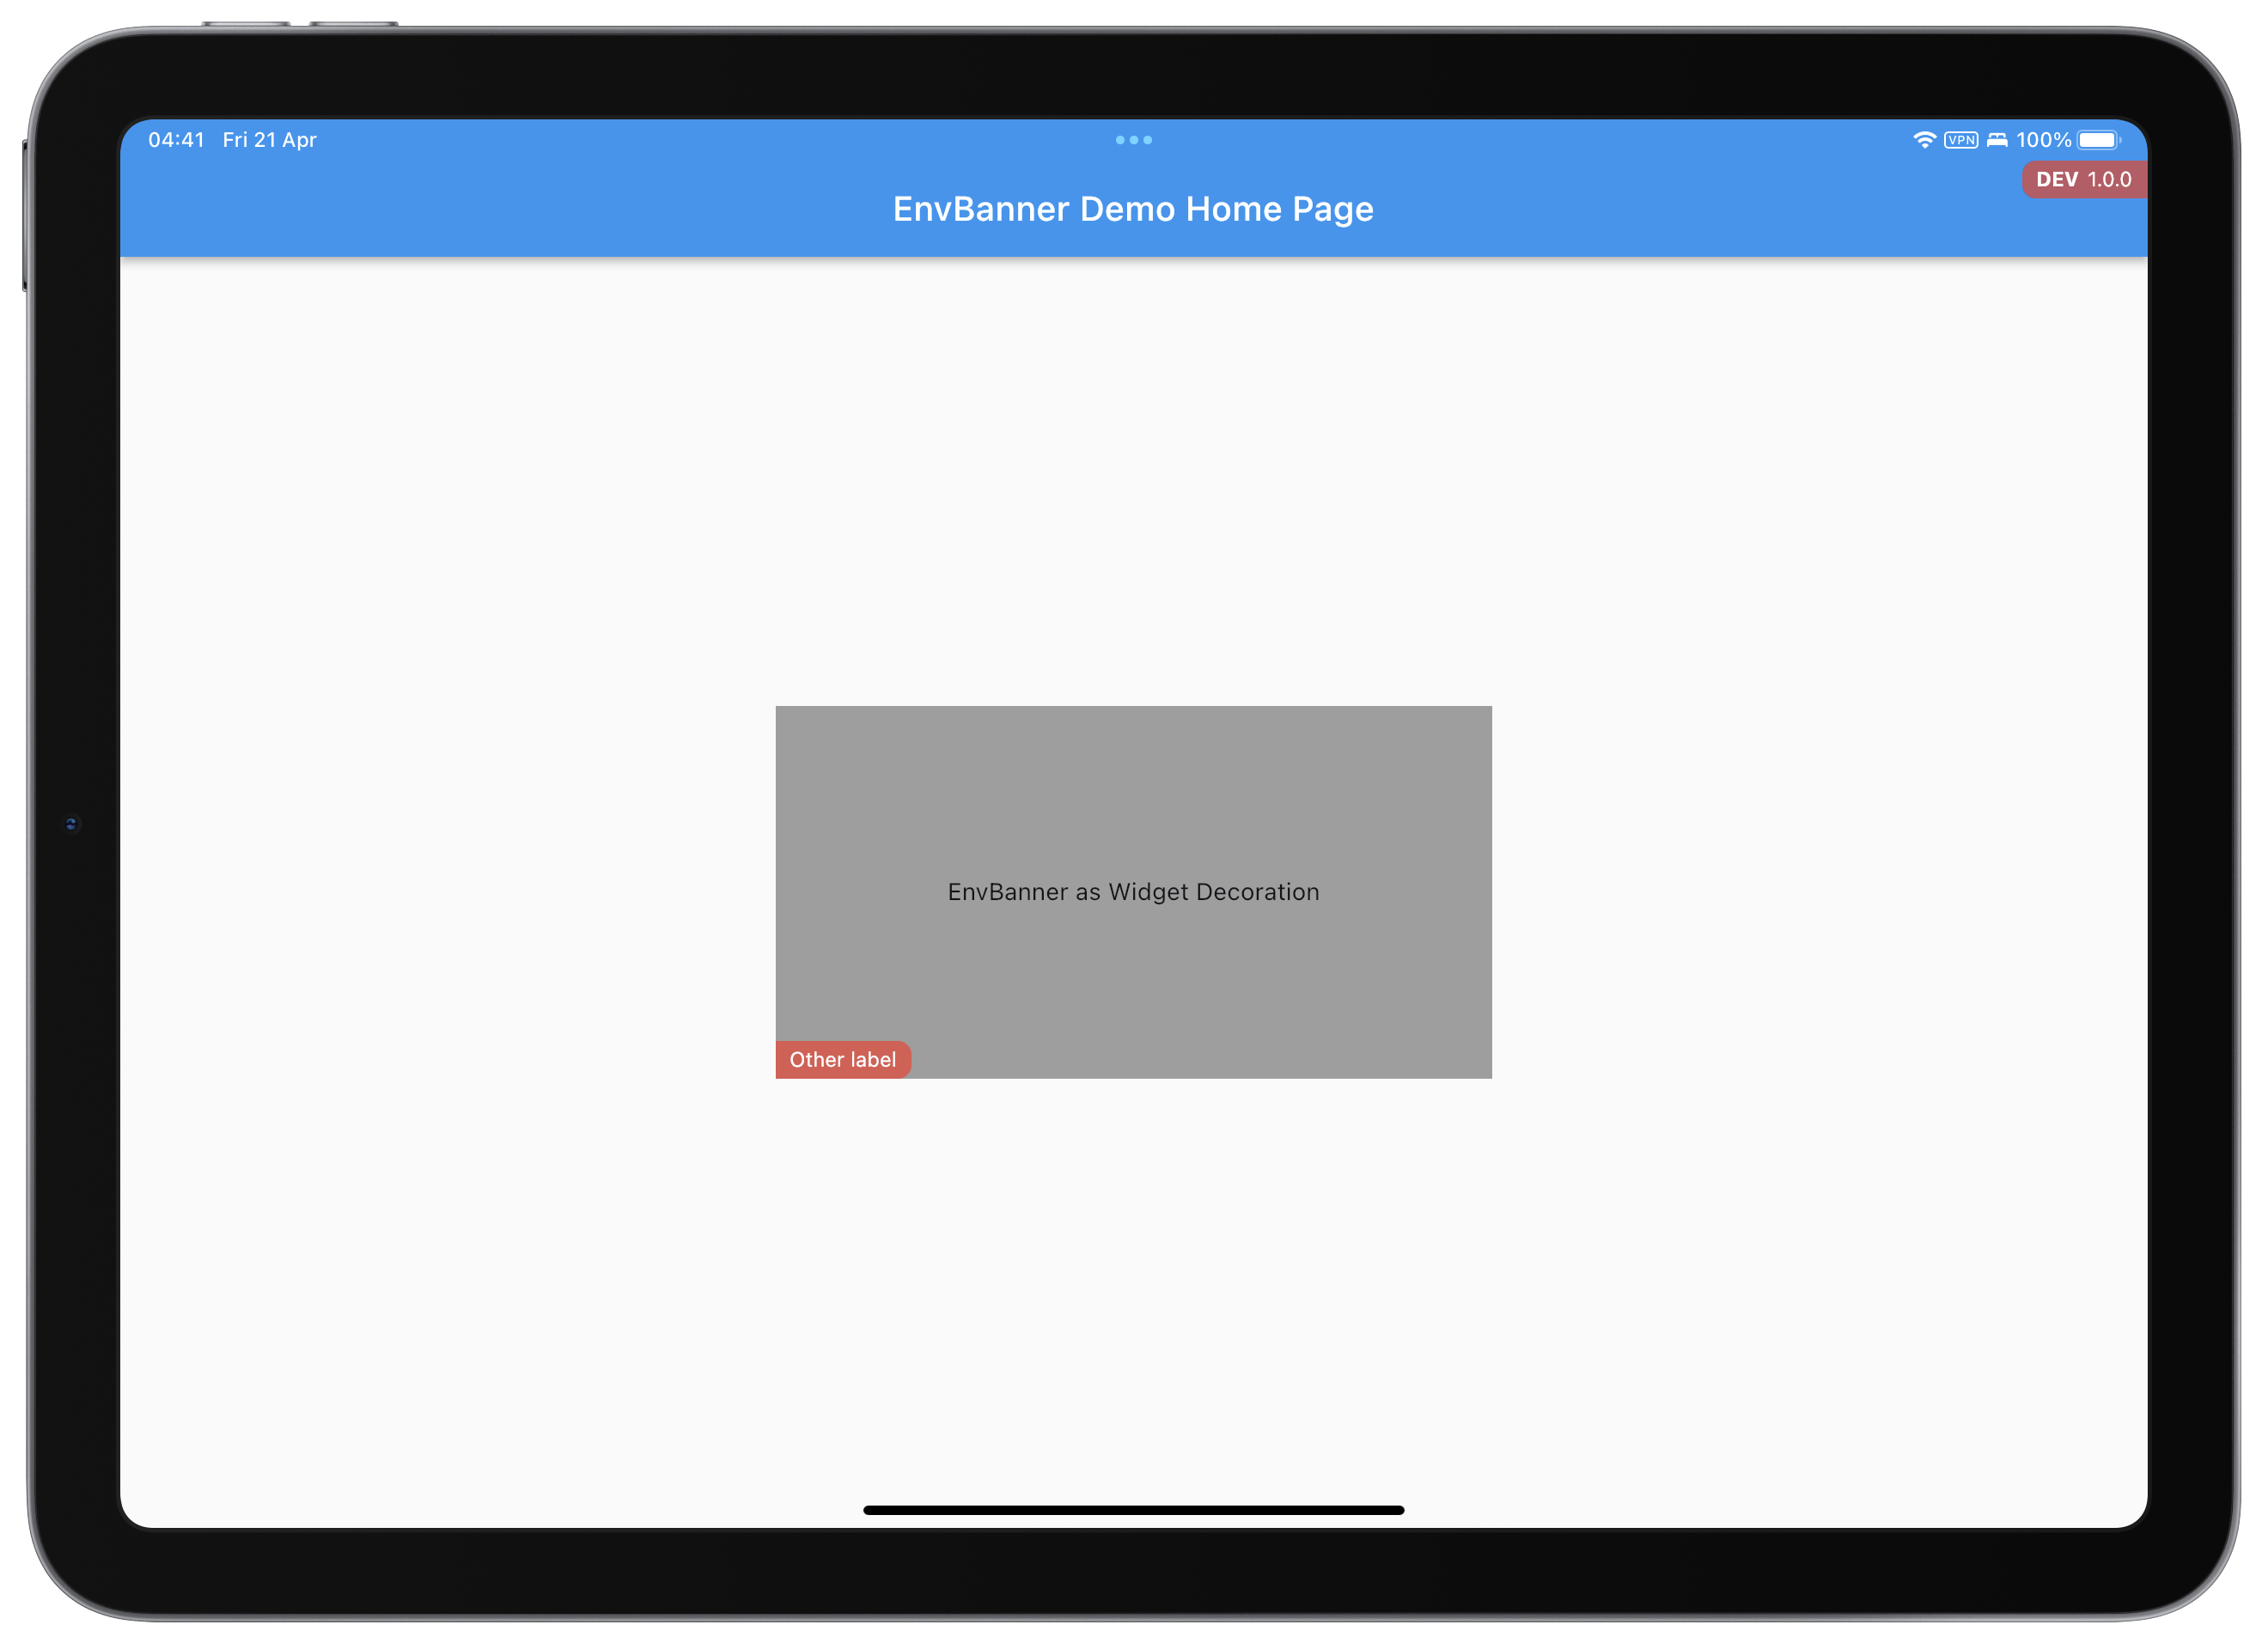
I want to share with you my experience creating and publishing my first Flutter package on pub.dev. It is env_banner, a widget that helps to display a label with the application environment name and version number in a corner of the screen.
Why did I decide to create this package?
Well, it turns out that in my work we have several versions of the same application for different environments, and sometimes it is difficult to distinguish them when we have them installed on the same device. Also, we wanted to avoid confusion between test users and developers when reporting bugs or requesting new features. And although I had previously written this article about Flutter's generic banners, I didn't like them because sometimes the text was covered by the symbols in the system's notification bar.

So I came up with the idea of creating a widget that would not only be displayed in a different position but would allow the name of the environment to be displayed clearly and visibly, but without interfering with the user interface.
The process
Creating the package was quite easy, thanks to the excellent documentation and tools provided by Flutter. The first thing I did was to create a new project using the command
flutter create --template=package env_banner
This generated a basic structure with the necessary files for the package, such as the pubspec.yaml, the README, the CHANGELOG and the LICENSE. Then I wrote the widget code in the lib folder, using some basic Flutter widgets like Container, Text and Align. I also added some optional parameters to customize the colour, size and position of the label.
To test the widget, I created a sample application in the example folder, using the flutter create example command. There I was able to import the package with import 'package:env_banner/env_banner.dart' and use it in the main widget of the application.
The result was something like this:

Once I had the widget working and tested, the next thing to do was to publish it to pub.dev, the official Flutter and Dart package repository. To do this, I had to follow a few steps:
Make sure that the
pubspec.yamlhad all the required information, such as the name, description, version, authors and dependencies of the package.Run the
flutter pub publish --dry-runcommand to verify that there were no errors or warnings when publishing the package.Run the
flutter pub publishcommand to upload the package to pub.dev. This required entering my Google email and password to authenticate.Wait a few minutes for the package to be processed and published to pub.dev.
And that's how I published my first Flutter package on pub.dev. It was a very rewarding and fun experience, and I hope it will be useful for other developers who want to showcase their Flutter application environment. If you want to see the source code for the package, you can find it at https://github.com/melvinsalas/env_banner. You can also leave your comments, suggestions or bug reports in the issues section.
Thanks for reading!


